Start in a plank
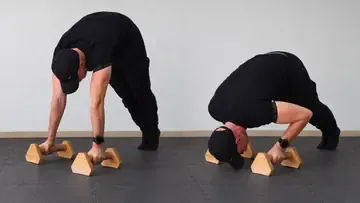
Begin facing away from the wall in a plank position with your feet close to the wall and your hands approximately shoulder-width apart.
 static
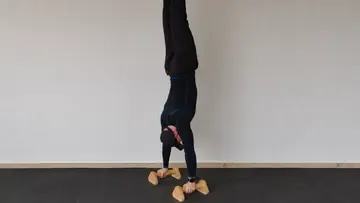
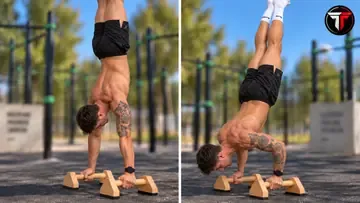
The Wall Handstand is one of the best ways to build the position needed for a freestanding Handstand without having to balance immediately. Walk your feet up the wall and your hands progressively closer until your body approaches a vertical line. Keep your elbows locked, push tall through your shoulders, brace your core, and use only light toe contact with the wall. As your control improves, gradually reduce how much pressure your feet place against the wall and begin practising brief moments of balance away from it.
Begin facing away from the wall in a plank position with your feet close to the wall and your hands approximately shoulder-width apart.
Walk your feet upward while moving your hands gradually towards the wall. Keep your arms straight and stay in control throughout the climb.
Move only as close as you can control while bringing your wrists, shoulders, hips, and ankles towards a vertical stacked line.
Lock your elbows and actively push the floor away so your shoulders stay elevated. Brace your core, squeeze your glutes, and keep your legs straight and together.
Let only your toes lightly contact the wall instead of resting your bodyweight against it. Hold the position with control, then reverse the wall walk to return to the floor.
Allowing your ribs to flare and your lower back to arch creates a banana-shaped handstand. Brace your trunk, squeeze your glutes, and aim to stack your hips over your shoulders.
Do not simply hang between your arms. Push strongly through the floor and keep your shoulders actively elevated throughout the hold.
Keep your elbows completely straight. If your arms begin to bend under your bodyweight, move farther from the wall or return to an easier inverted progression.
The wall should provide balance assistance rather than support most of your weight. Gradually work towards light toe contact while maintaining your position through the hands and shoulders.
Getting your hands extremely close to the wall is not useful if you lose control or cannot exit safely. Reduce the distance progressively as your overhead position and confidence improve.
The Wall Handstand is a supported handstand where a wall helps you maintain balance while you develop straight-arm overhead strength and body alignment. In the Treethenics version, your chest faces the wall and your toes provide only light support.
Both variations are useful, but Treethenics uses the chest-to-wall version as the standard Wall Handstand because it makes it easier to practise a stacked body line without relying heavily on an arched lower-back position.
Move only as close as your mobility and control allow. The goal is not to touch the wall with your chest, but to approach a vertical stacked position while maintaining straight arms and a safe exit.
No. Ideally, the wall provides only enough contact to help with balance. As you improve, use lighter toe pressure so your hands, shoulders, and trunk support and stabilize your body.
Develop a controlled wall-facing position first, then gradually reduce your contact with the wall. Toe pulls and brief balance attempts teach you to use hand and fingertip pressure before moving to consistent freestanding Handstand practice.